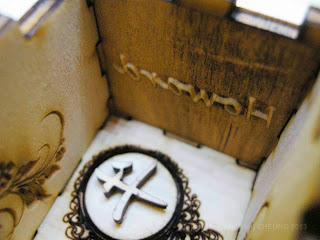
I am not so familiar with plaster and molding or casting method. Therefore i using this tests to learn and also see how laser cut will help molding. Here is the plywood laser cut box.
First, i try to quickly make a box and putting different pattern on each sides so six sides could have something to test. It is base on the different type of work laser cut can do that i know which gives the perfect result.
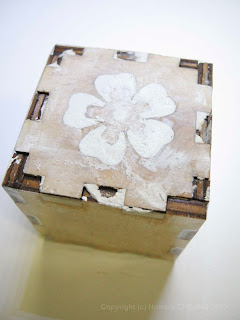
At the top, i cut through a flower pattern holes. It was planned to pour plaster into the box, however they are far too small so i just pour plaster into before cover the box with this piece.
It do worries me a lot that it still a bit damp on the surface of the wood after more than 72 hours.
At last, i open the box and find the center pattern of the flower at the top piece was cut too thin and cannot remove it...
However the result of recess area (black fill) have the best result i found in this test.
It can also gives you a corner details (only if you have plan it well)
For the score line (blue line) plaster can mold quite detail but it is too thin some may easily rub off. The Chinese character (牛) i had stick onto the bottom of the box but eventually it just cannot get out from the mold and now become the part of the plaster. I noticed that i had pour the plaster too fast so the air bubble trap in the character and make a void which it is not expected.
From the instruction of the plaster that the maximum strength and detail the plaster i bought can handle is 7:3 plaster : water ratio. However i feel it is not so reliable and i just control the water amount manually with my limited baking skills. ( It do like baking a cake. haha)


0 comments:
Post a Comment